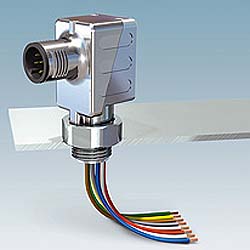
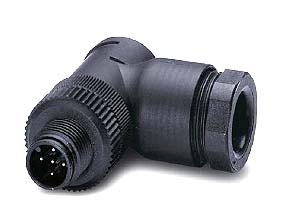
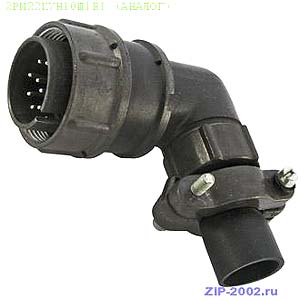
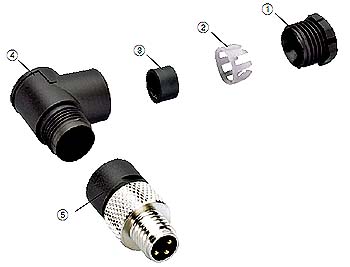
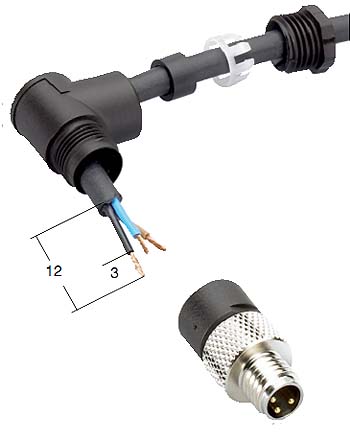
угловой соединитель


|
|
ИНТЕНТ
ИНЖЕНЕРНАЯ ПЕРЕВОДЧЕСКАЯ КОМПАНИЯ
Основана в 1993 г. |
СПРАВОЧНИК ТЕХНИЧЕСКОГО ПЕРЕВОДЧИКА |
Параллельные тексты EN-RU
|
Тематики
КлассификацияEN
DE
FR
|

Уважаемые пользователи Справочника!
На протяжении 15 лет Справочник содержала компания ИНТЕНТ, но она перестала существовать.
Теперь Справочник сможет продолжить свою работу и развиваться только при вашей поддержке.
Всё зависит от вас. Будут донаты - будет и Справочник!
На обеспечение работоспособности необходимо 4000 6000 руб/месяц. На развитие - больше.
Отправить любую сумму на поддержку и развитие Справочника можно переводом денег:
1) По QR-коду

2) Переводом денег по телефону +7 916 238 4390 (Сбербанк Изралий Соломонович Ш.).
При оплате в сообщении, пожалуйста, укажите: На справочник.
СПАСИБО ЗА ПОДДЕРЖКУ СПРАВОЧНИКА!
21.04.2026 - Юрий Ф.- 1000 руб.
04.04.2026 - Ольга З.- 500 руб.
27.03.2026 - Виталий К. - 3000 руб.
22.03.2026 - Ольга З. - 500 руб.
14.03.2026 - Юрий Ф. - 2000 руб.
03.03.2026 - Ольга З. - 500 руб.
03.03.2026 - Дарина З. - 3000 руб.
01.03.2026 - Софья С. - 500 руб.
27.02.2026 - Ульяна А.- 1000 руб.
25.02.2026 - Юрий Ф. - 1000 руб.
19.02.2026 - Ольга З. - 500 руб.
17.02.2026 - Валентина Ф. - 500 руб.
12.02.2026 - Екатерина К. - 200 руб.
04.02.2026 - Ольга З. - 500 руб.
03.02.2026 - Наталья П. - 500 руб.
28.01.2026 - Татьяна У. - 1000 руб
13.01.2026 - Ольга З. - 600 руб.
25.12.2025 - Наталья П. - 500 руб.
12.12.2025 - Юрий Ф. - 1000 руб.
24.11.2025 - Наталья П. - 1000 руб.
07.11.2025 - Александра М. - 500 руб.
25.10.2025 - Сергей К. - 1000 руб.
14.10.2025 - Наталья П. - 500 руб.
10.10.2025 - Юрий Ф. - 2000 руб.
06.10.2025 - Аноним - 2000 руб.
03.10.2025 - Дарина З. - 3000 руб.
01.10.2025 - Лариса Н. - 500 руб.
01.10.2025 - Ульяна А. - 1000 руб.
01.10.2025 - Александра М. - 1000 руб.
30.09.2025 - Татьяна Г. - 1500 руб.
10.09.2025 - Валентина Ф. - 500 руб.
09.09.2025 - Александра М. - 500 руб.
31.08.2025 - Дмитрий Т. - 5000 руб.
31.08.2025 - Юрий Ф. - 1000 руб.